Publishing the online ordering button on your website is normally a matter of copy paste. Things can get a little more complicated though when you run into the limitations of the website builder, especially if you also want to customize the button to best fit your layout and design.
We’ve seen hundreds of ordering buttons and how you use them on your websites. Thanks to your feedback, we were able to constantly improve the html code and address the most common website builders. In this latest blog post we’ve put together our tips and how-to-s on making the most of your online ordering button.
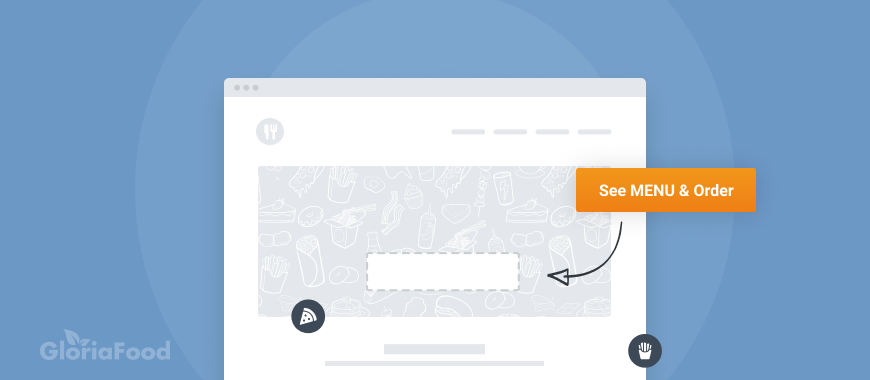
Get your online ordering button noticed
For the orders to happen, your website visitors need to notice the button and click on it. Magic cannot happen otherwise. Go through this list of best practices and make sure you check all of them.
- Show the button on the homepage. We are not excluding other pages, if you will, but make sure your online ordering button or call to action is present on the homepage. Also, place it above the fold. Your customers need to see it right away, to make sure you’re really doing this and their order will not be ignored. Moreover, many food clients tend not to scroll. One bad example we have seen: the button placed only at the bottom of the contact page. This significantly diminishes the chances of getting any online orders.
- Make the button stand out. The online ordering button should be visible and draw attention. Don’t just “throw it” in a crowded corner of your website. Give it space and make sure the color stands out from the background and surroundings.
- The size is important. You need to make your online ordering button slightly more prominent than the others buttons or links in the page. Pay attention however not to exaggerate. A button that is too large will kill the rest of your content in the page.
- Action oriented text. You need to guide your client to your desired goal: online ordering. When pressing the button, your client should not be surprised about the result. Your text should be inviting and explicit about what’s going to happen next. “See Menu & Order” or “Order Online” are good labels to use.
How to add the custom button to your website
As stated before, for adding the button you only need to copy-paste the code in your page. However, most of the website builders come with some restrictions. Check out our visual examples and recommendations:
 |
Lately we’ve made several improvements to address the limitations of the website builders. Here are some examples:
- It’s fully compatible with WordPress, meaning that no more plugins are needed. You can just copy paste the code in Text mode.
- The button can be added multiple times on the same page without any more issues.
- The button and the online food menu load faster.
We recommend that you get the latest version of your custom code from the Admin area and update it on your website.
How to take online orders with GloriaFood: adding the Order Button in different website builders
How to customize the See Menu & Order button
It can happen that the default orange See Menu & Order button does not go well on your website. The color does not stand out, the size does not fit the placement, the font or the button style itself do not match your other website elements. In such cases you need to change the look and feel of the online ordering button.
If you are a “do it yourself” type of person but you don’t know how to handle this one, continue reading this section.
Your button code looks like this:
<!-- If you would like to customize the button, remove or change the "class" attribute inside the <span> tag --> <span class="glf-button" data-glf-cuid="xxxxxxxx-xxxx-xxxx-xxxx-xxxxxxxxxxxx" data-glf-ruid="xxxxxxxx-xxxx-xxxx-xxxx-xxxxxxxxxxxx" data-glf-auto-open="false"> See MENU & Order</span> <img src="data:image/gif;base64,R0lGODlhAQABAIAAAAAAAP///yH5BAEAAAAALAAAAAABAAEAAAIBRAA7" data-wp-preserve="%3Cscriptsrc%3D%22https%3A%2F%2Fwww.foodbooking.com%2Fwidget%2Fjs%2Fewm2.js%22%20deferasync%20%3E%3C%2Fscript%3E" data-mce-resize="false" data-mce-placeholder="1" class="mce-object" width="20" height="20" alt="<script>" title="<script>" />
The button’s current look and feel is given by class="glf-button". In this class we have defined the properties that make the button look orange, have the font white and so on. You can change the button style by:
- replacing the
glf-buttonclass with your own button class, or - defining your desired style inline.
Here are some properties to play with:
| Property | Description | Example |
|---|---|---|
| background-color | Sets the button color | style=”background-color:#008F00″ |
| Property | Description | Example |
|---|---|---|
| color | Sets the text color. Make sure you add “!important” for this to work. | style=”color:#194719 !important” |
| Property | Description | Example |
|---|---|---|
| font-size | Sets the font size | style=”font-size:16px” |
| Property | Description | Example |
|---|---|---|
| padding | Sets the space around the text. | style=”padding:15px” |
| Property | Description | Example |
|---|---|---|
| border-radius | Sets the shape of the border. The higher the value, the more rounded the corners. | style=”border-radius:40px” |
Combine the properties together to get to your desired design. For example, the following style:
style="padding:15px; font-size: 16px; border-radius:40px; background-color:#008F00"
inserted in the button code like this:
<span class="glf-button" data-glf-cuid="cd6801cb-200c-495d-9b31-66637e177162" data-glf-ruid="ac4a6b17-c1a7-4cee-9d15-8f133982a3b3" data-glf-auto-open="false" style="padding:15px; font-size: 16px; border-radius:40px; background-color:#008F00"> See MENU & Order</span> <img src="data:image/gif;base64,R0lGODlhAQABAIAAAAAAAP///yH5BAEAAAAALAAAAAABAAEAAAIBRAA7" data-wp-preserve="%3Cscript%20src%3D%22https%3A%2F%2Fwww.foodbooking.com%2Fwidget%2Fjs%2Fewm2.js%22%20defer%20async%20%3E%3C%2Fscript%3E" data-mce-resize="false" data-mce-placeholder="1" class="mce-object" width="20" height="20" alt="<script>" title="<script>" />
will produce the following result:
You can also use the style property to adjust the position of the button in its container. Here is an example of how to place the button horizontally centered and 100 pixels down from the top:
style: "position: absolute; left: 50%; transform: translateX(-50%); top: 100px;"
One final tip: There is a nice tool online (JS Bin) that allows you to play with a piece of code and it shows you right away the result. Open it, delete whatever code is already there on the left column and paste your own button code. As you make changes in the code, the right column will automatically refresh. Give it a try, it will save you time.
Have fun customizing your button, but do it wisely! Keep in mind the best practices we talked about at the beginning of this article!
On this topic: See more examples and recommendations on how to add and customize the online ordering button in:
When you accept, reject or miss an order, your customers get notified by email. It’s all very simple and straightforward.

