
- 1.Why restaurants need a website?
- 2.What You’ll Need to Get Started
- 3.Step-by-Step Guide to Creating Your Restaurant Website
- 1. Install WordPress on Your Hosting
- 2. Install the GloriaFood WordPress plugin
- 3. Create and Configure Your GloriaFood Account
- 4. Add the online ordering button to a webpage
- 5. Test your WordPress restaurant website
- 4.Final Thoughts
Lets face it! Almost anything that can be bought, can be bought online, including food. Recent studies show that 70% of customers order food online and want it delivered. This means that just by operating without a restaurant website you’re losing approximately 3/4th of potential customers, having a well-designed website is no longer optional; it’s essential.
In this article we will help you reach more consumers by taking your business online and provide step-by-step instructions on “How to make a restaurant website with WordPress.”
Let’s dive in!
Why restaurants need a website?
Having a restaurant does more than provide your customers with a convenient way to place their orders. A responsive restaurant website allows you to:
- Prove your business is legitimate – Many customers see a restaurant website as a sign your business is established and trustworthy.
- Share important information – A restaurant website acts as your own posting board. You can share vital information about your opening hours, abrupt closures, special promotions and much more.
- Add customer reviews – a recent study found that 93% of diners look at a restaurants reviews before deciding where to eat. There are lots of restaurants who claim to offer “the best pizza” or “the best burger” but how true is that? Highlighting your customers feedback is essentially “letting your food speak for itself.”
- Visually present your meals – Have you ever hear of the saying “we eat with our eyes before our mouths?” With a website you will be able to stunning restaurant photography to your online menu.
Luckily for you making a restaurant website has gotten easier with platforms like WordPress.
What You’ll Need to Get Started
In order to make a restaurant website you’re going to need a few things:
- A domain name – a domain name is the text that a customer types into a browser window to reach a particular website.(e.g.www.com)
- Web hosting with WordPress support – Web hosting is is an online service that makes your website’s content accessible on the internet. (e.g., Bluehost, SiteGround, GoDaddy)
- A WordPress installation – Before installing WordPress you need to check with your web hosting provider to ensure they support WordPress although most providers usually have one-click installs.
- A mobile-friendly restaurant theme – In simple terms a WordPress theme is the overall design of your website. This includes the fonts, colors and button placements on pages. (e.g. GloriaFood WordPress theme)
Step-by-Step Guide to Creating Your Restaurant Website
Once you have everything mentioned above here’s what to do.
1. Install WordPress on Your Hosting Account
Most hosting providers offer one-click WordPress installation. After installing:
- Choose a restaurant WordPress theme
- Configure basic settings:
- Site title and tagline
- Permalink structure (set to “Post name”)
- Upload your logo and favicon
2. Install the GloriaFood WordPress plugin.
To install the plugin:
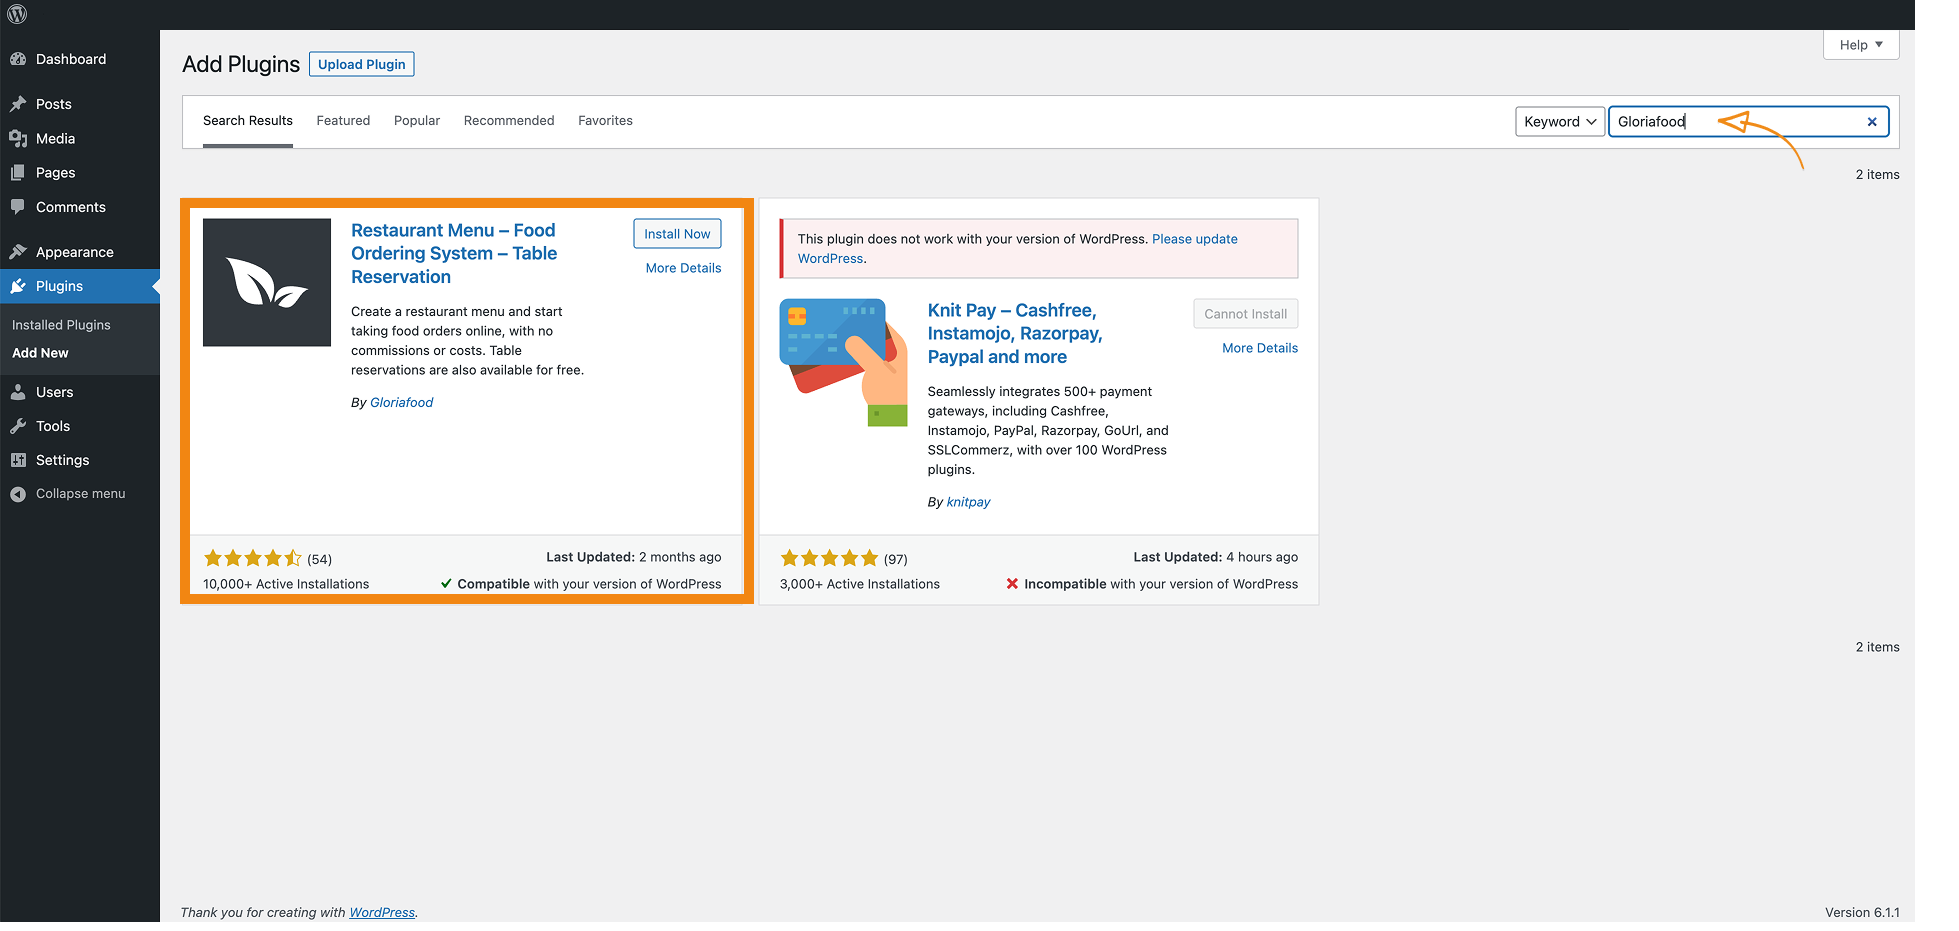
- Go to Plugins > Add New
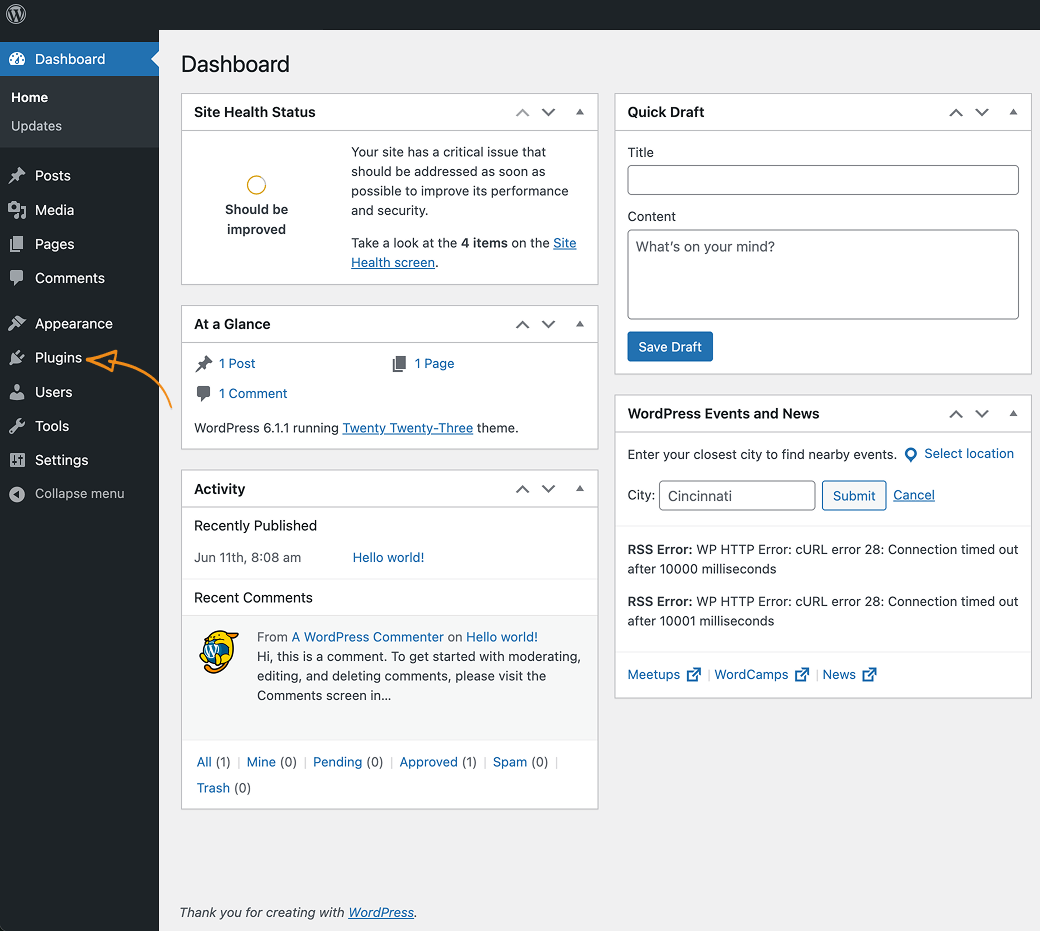

- Search for: GloriaFood then Click Install Now, and then Activate
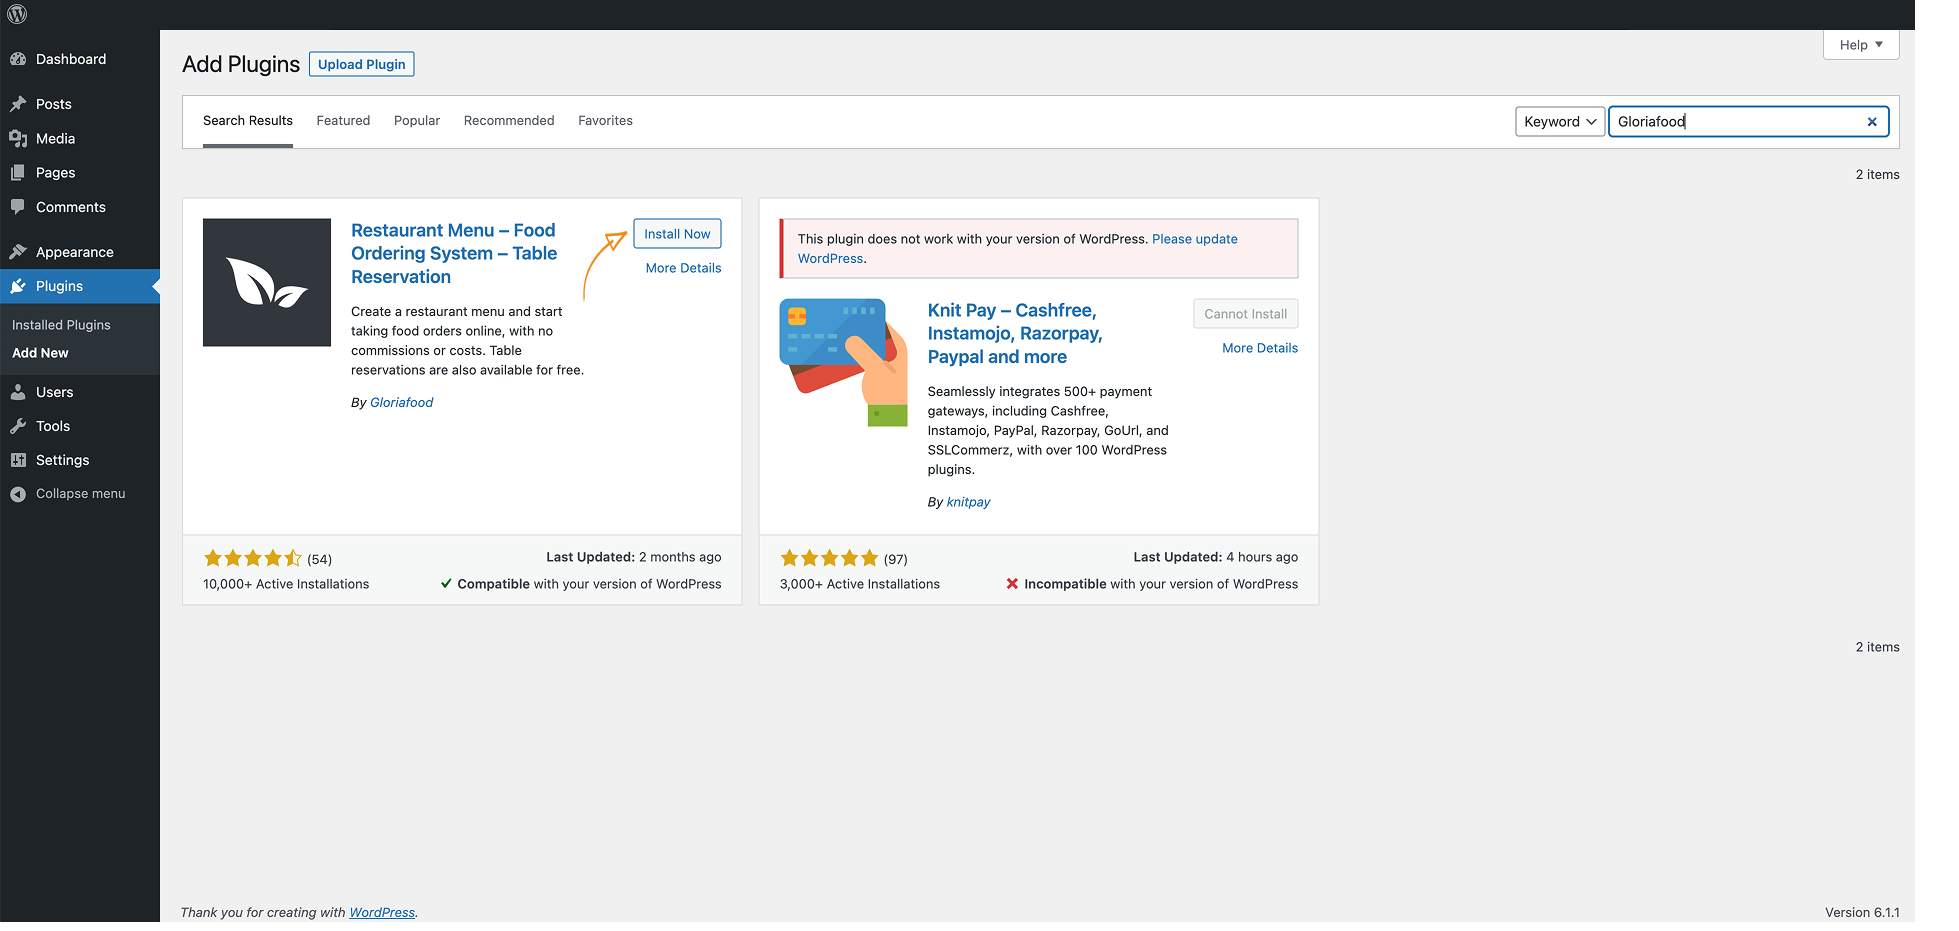
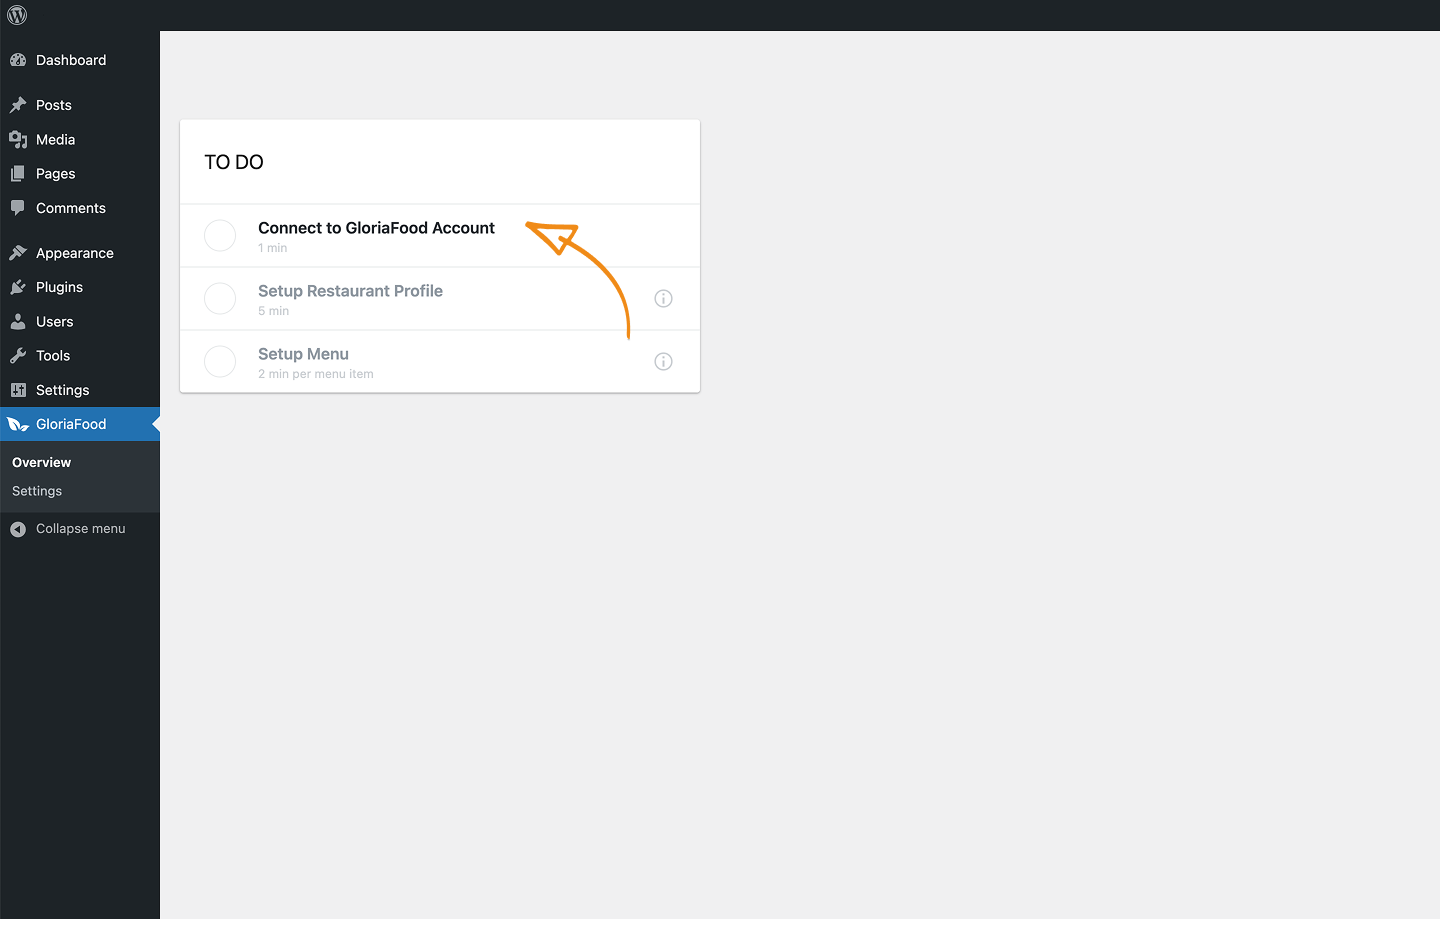
Once activated, you’ll see a new menu item: “GloriaFood” in the dashboard.
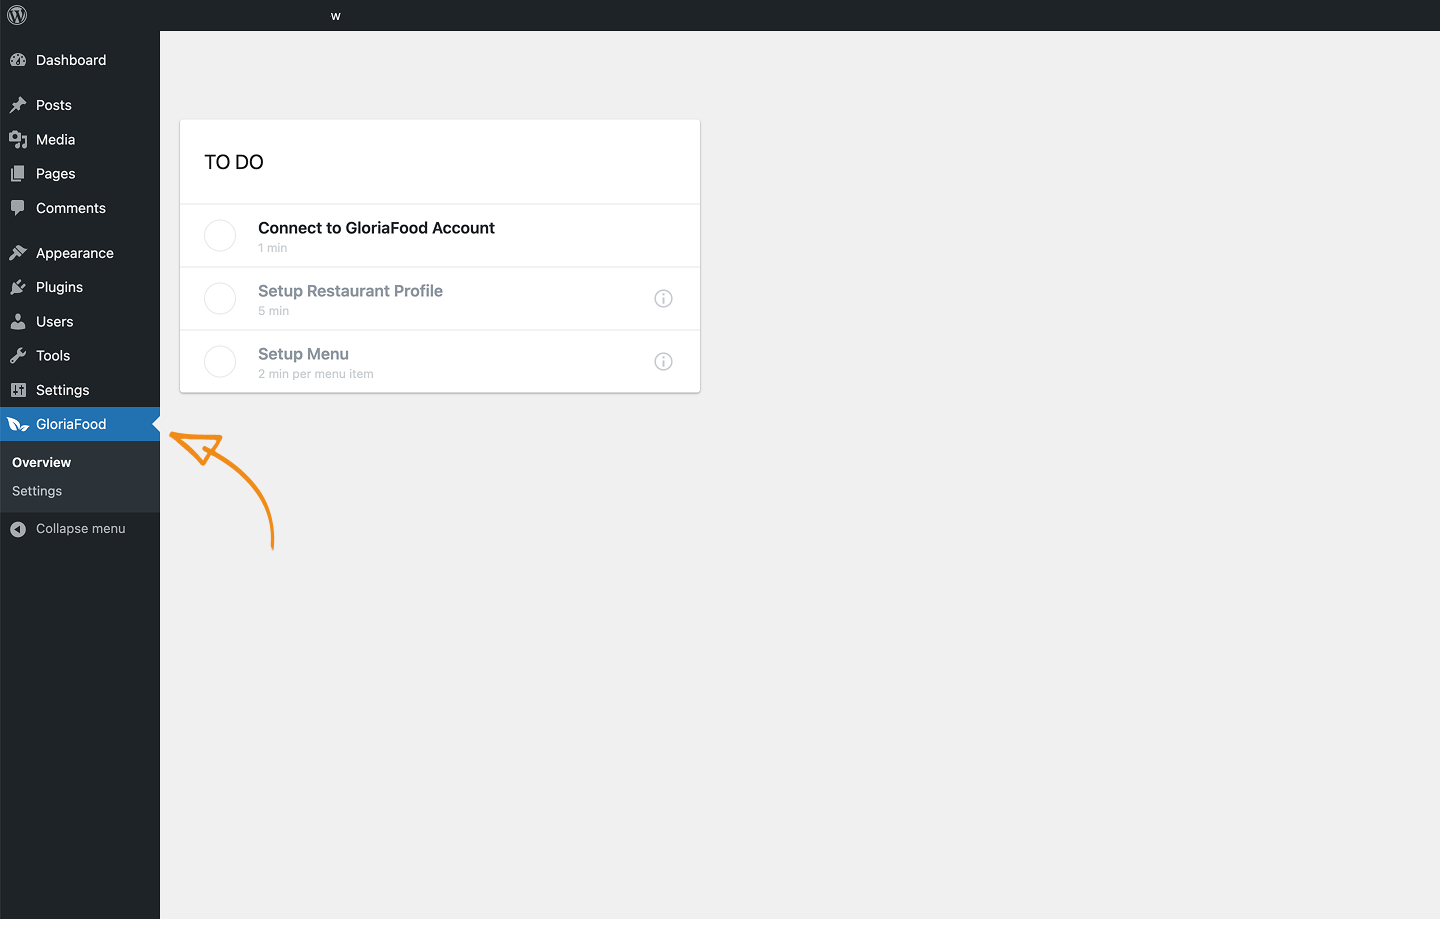
3. Create and Configure Your GloriaFood Account
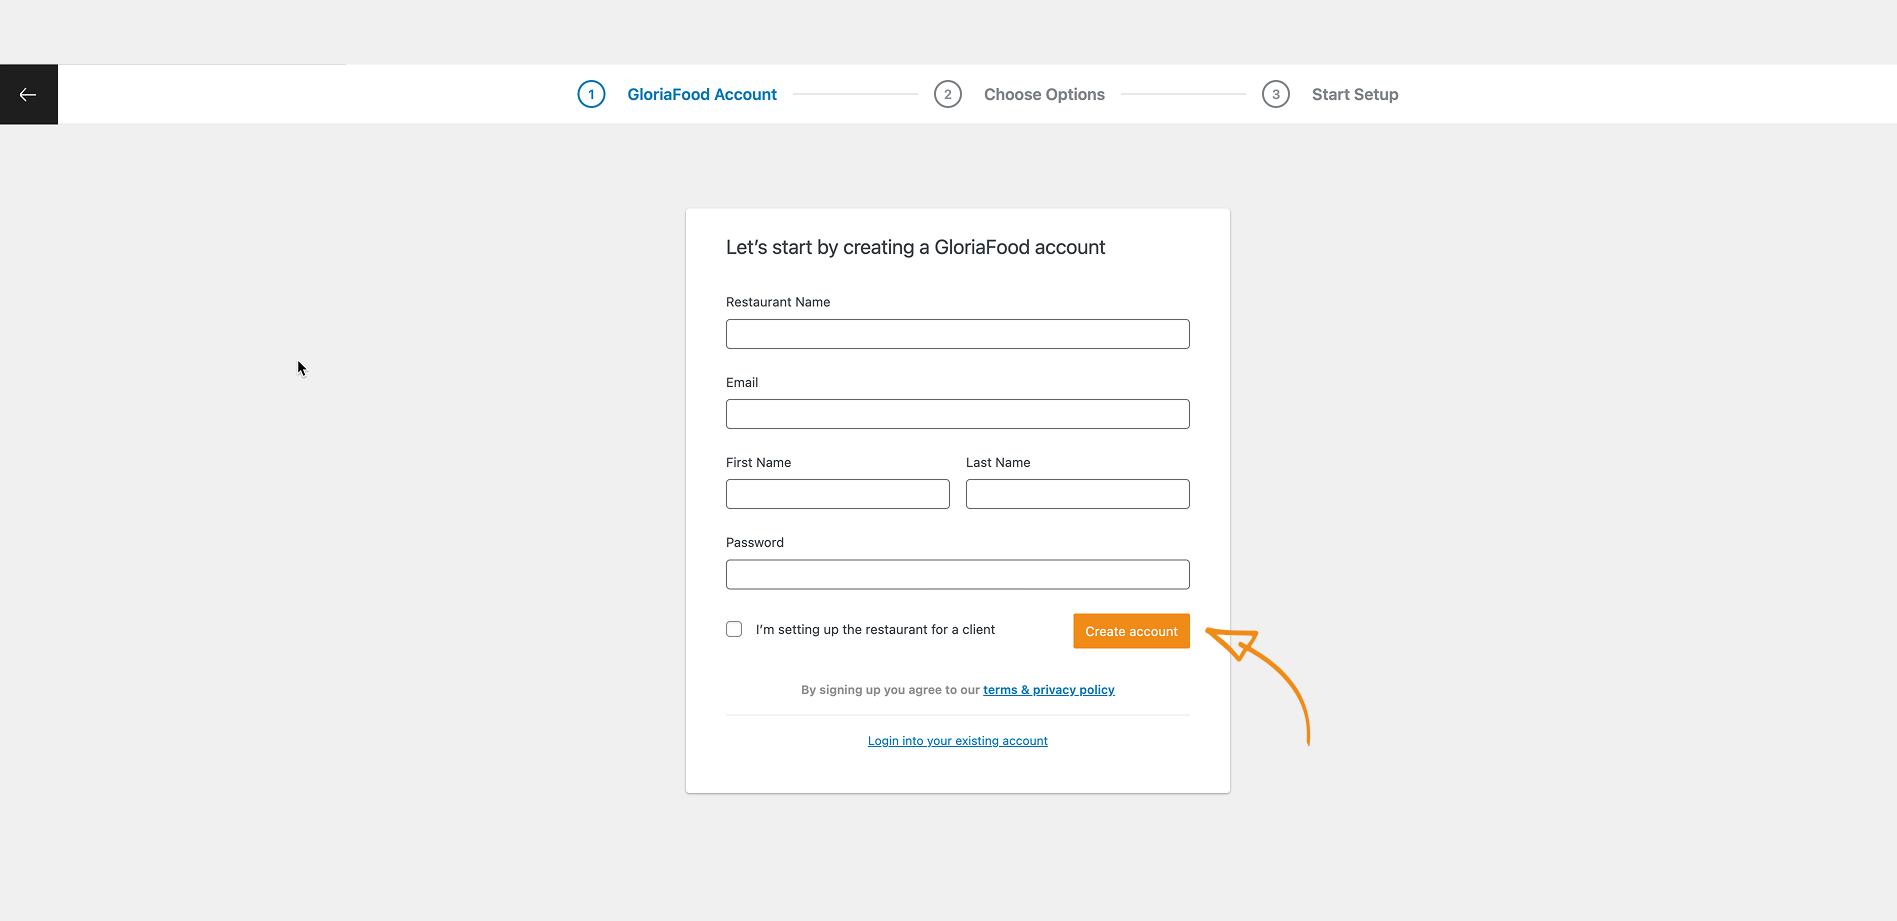
- Select “Connect to a GloriaFood Account”
- Insert your “restaurants’ name,” your “first and last name” email address and password. Then click “ Create account.”
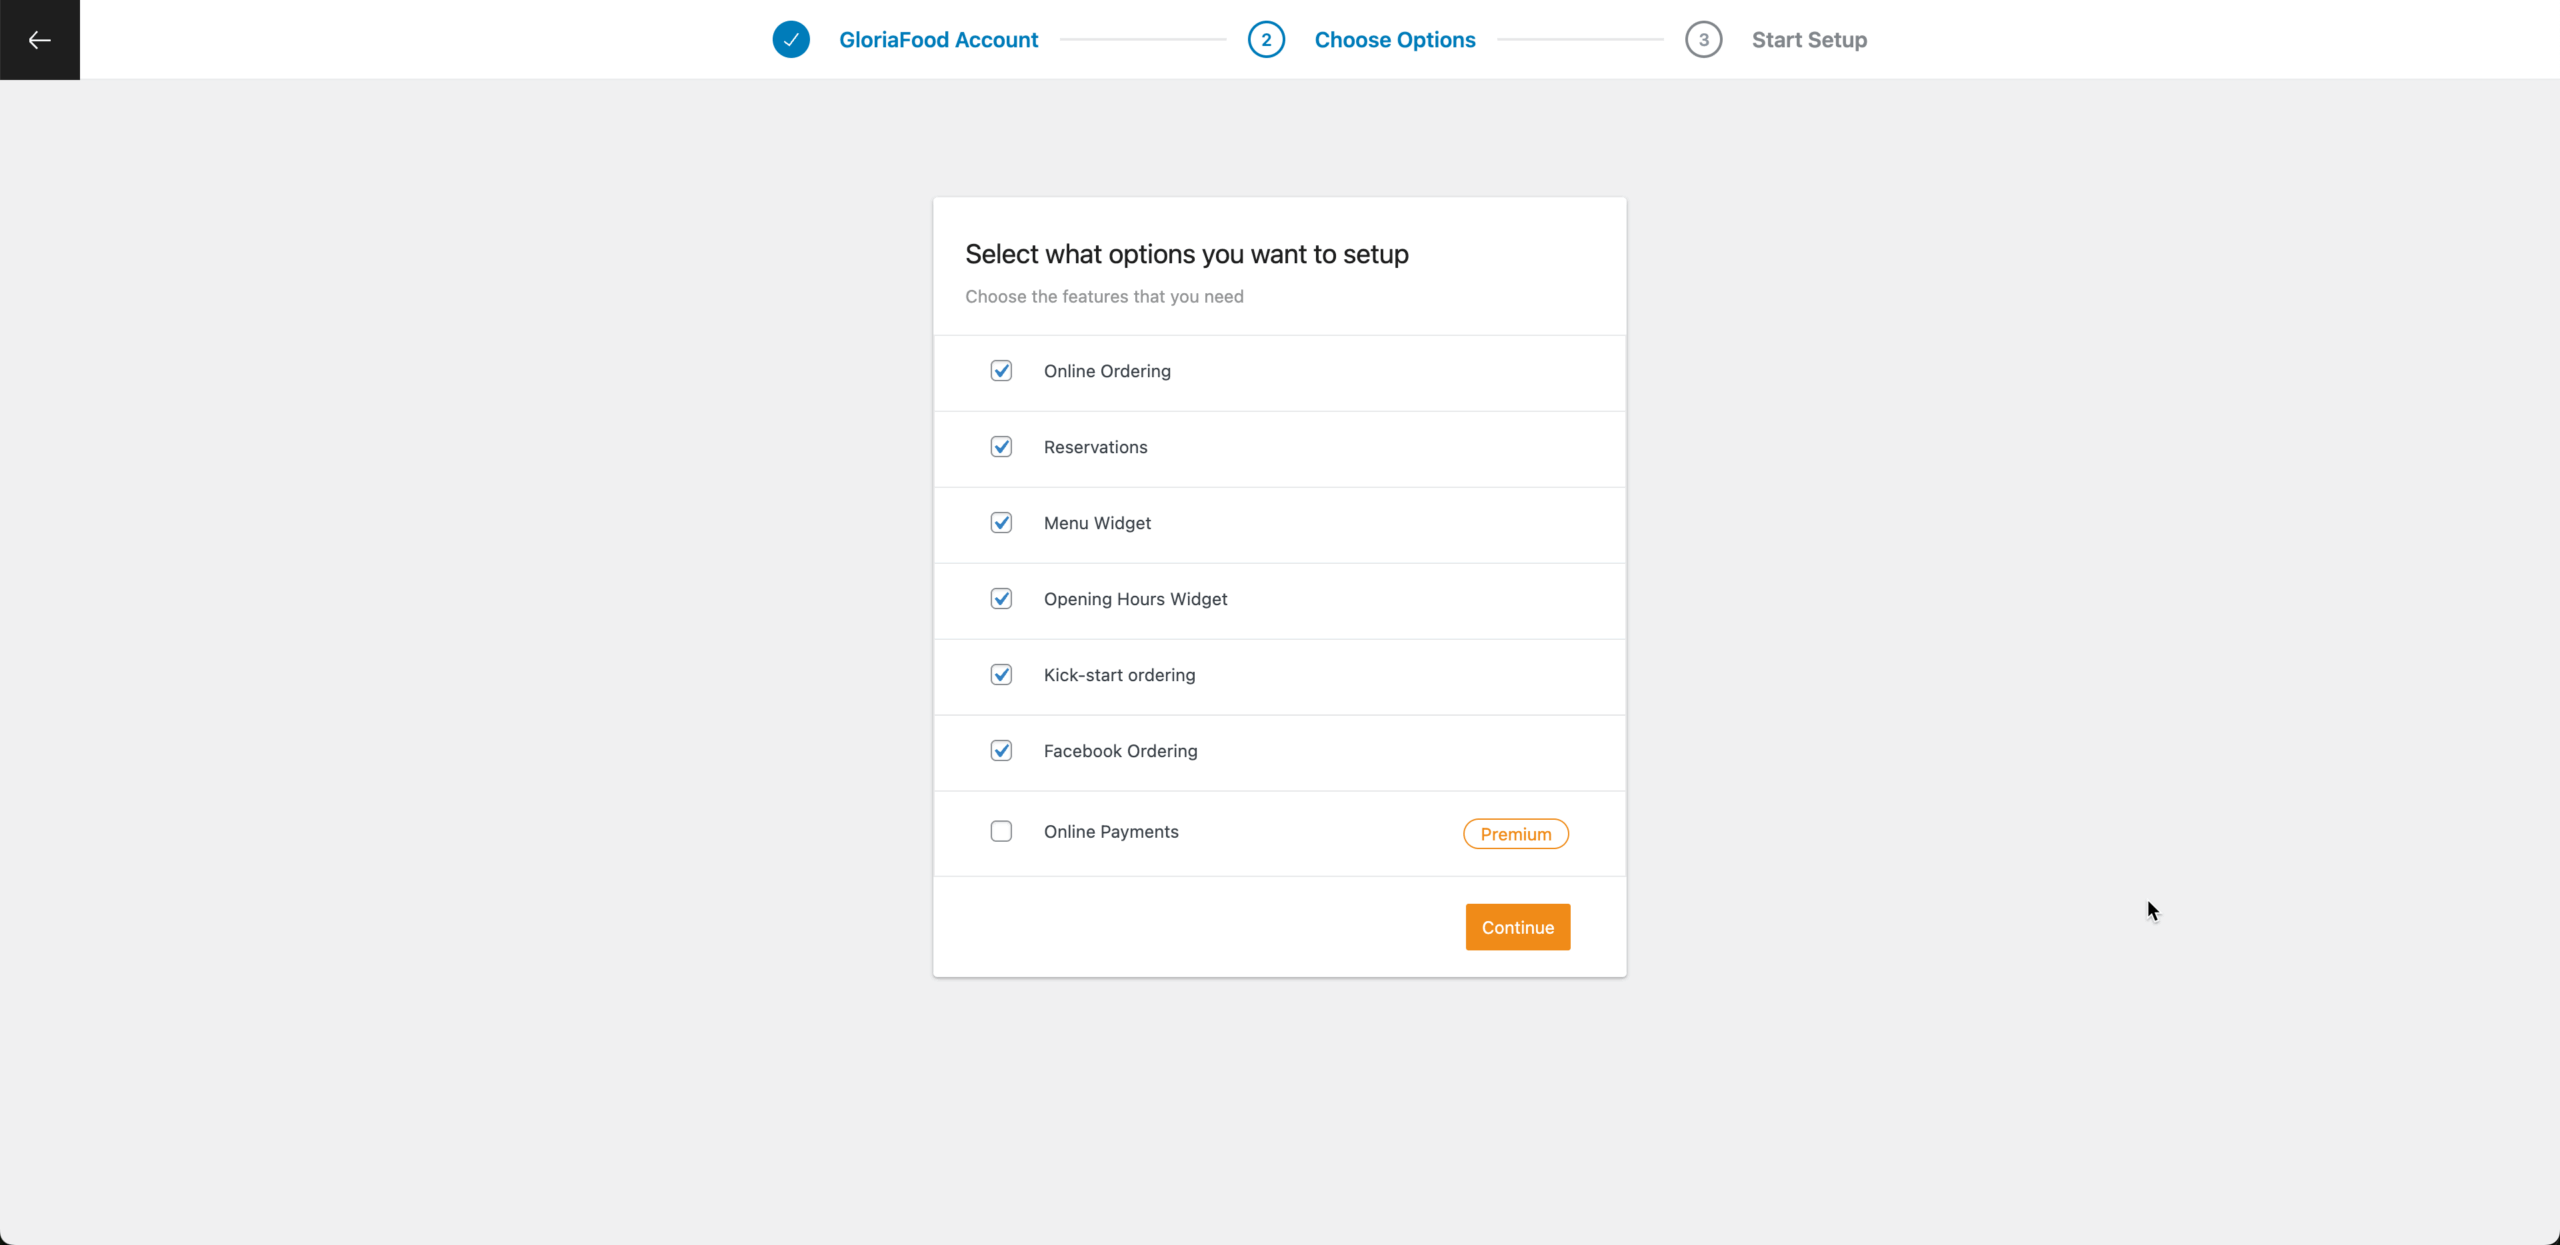
- Select the services you want enabled on your WordPress restaurant website the click “Continue.”
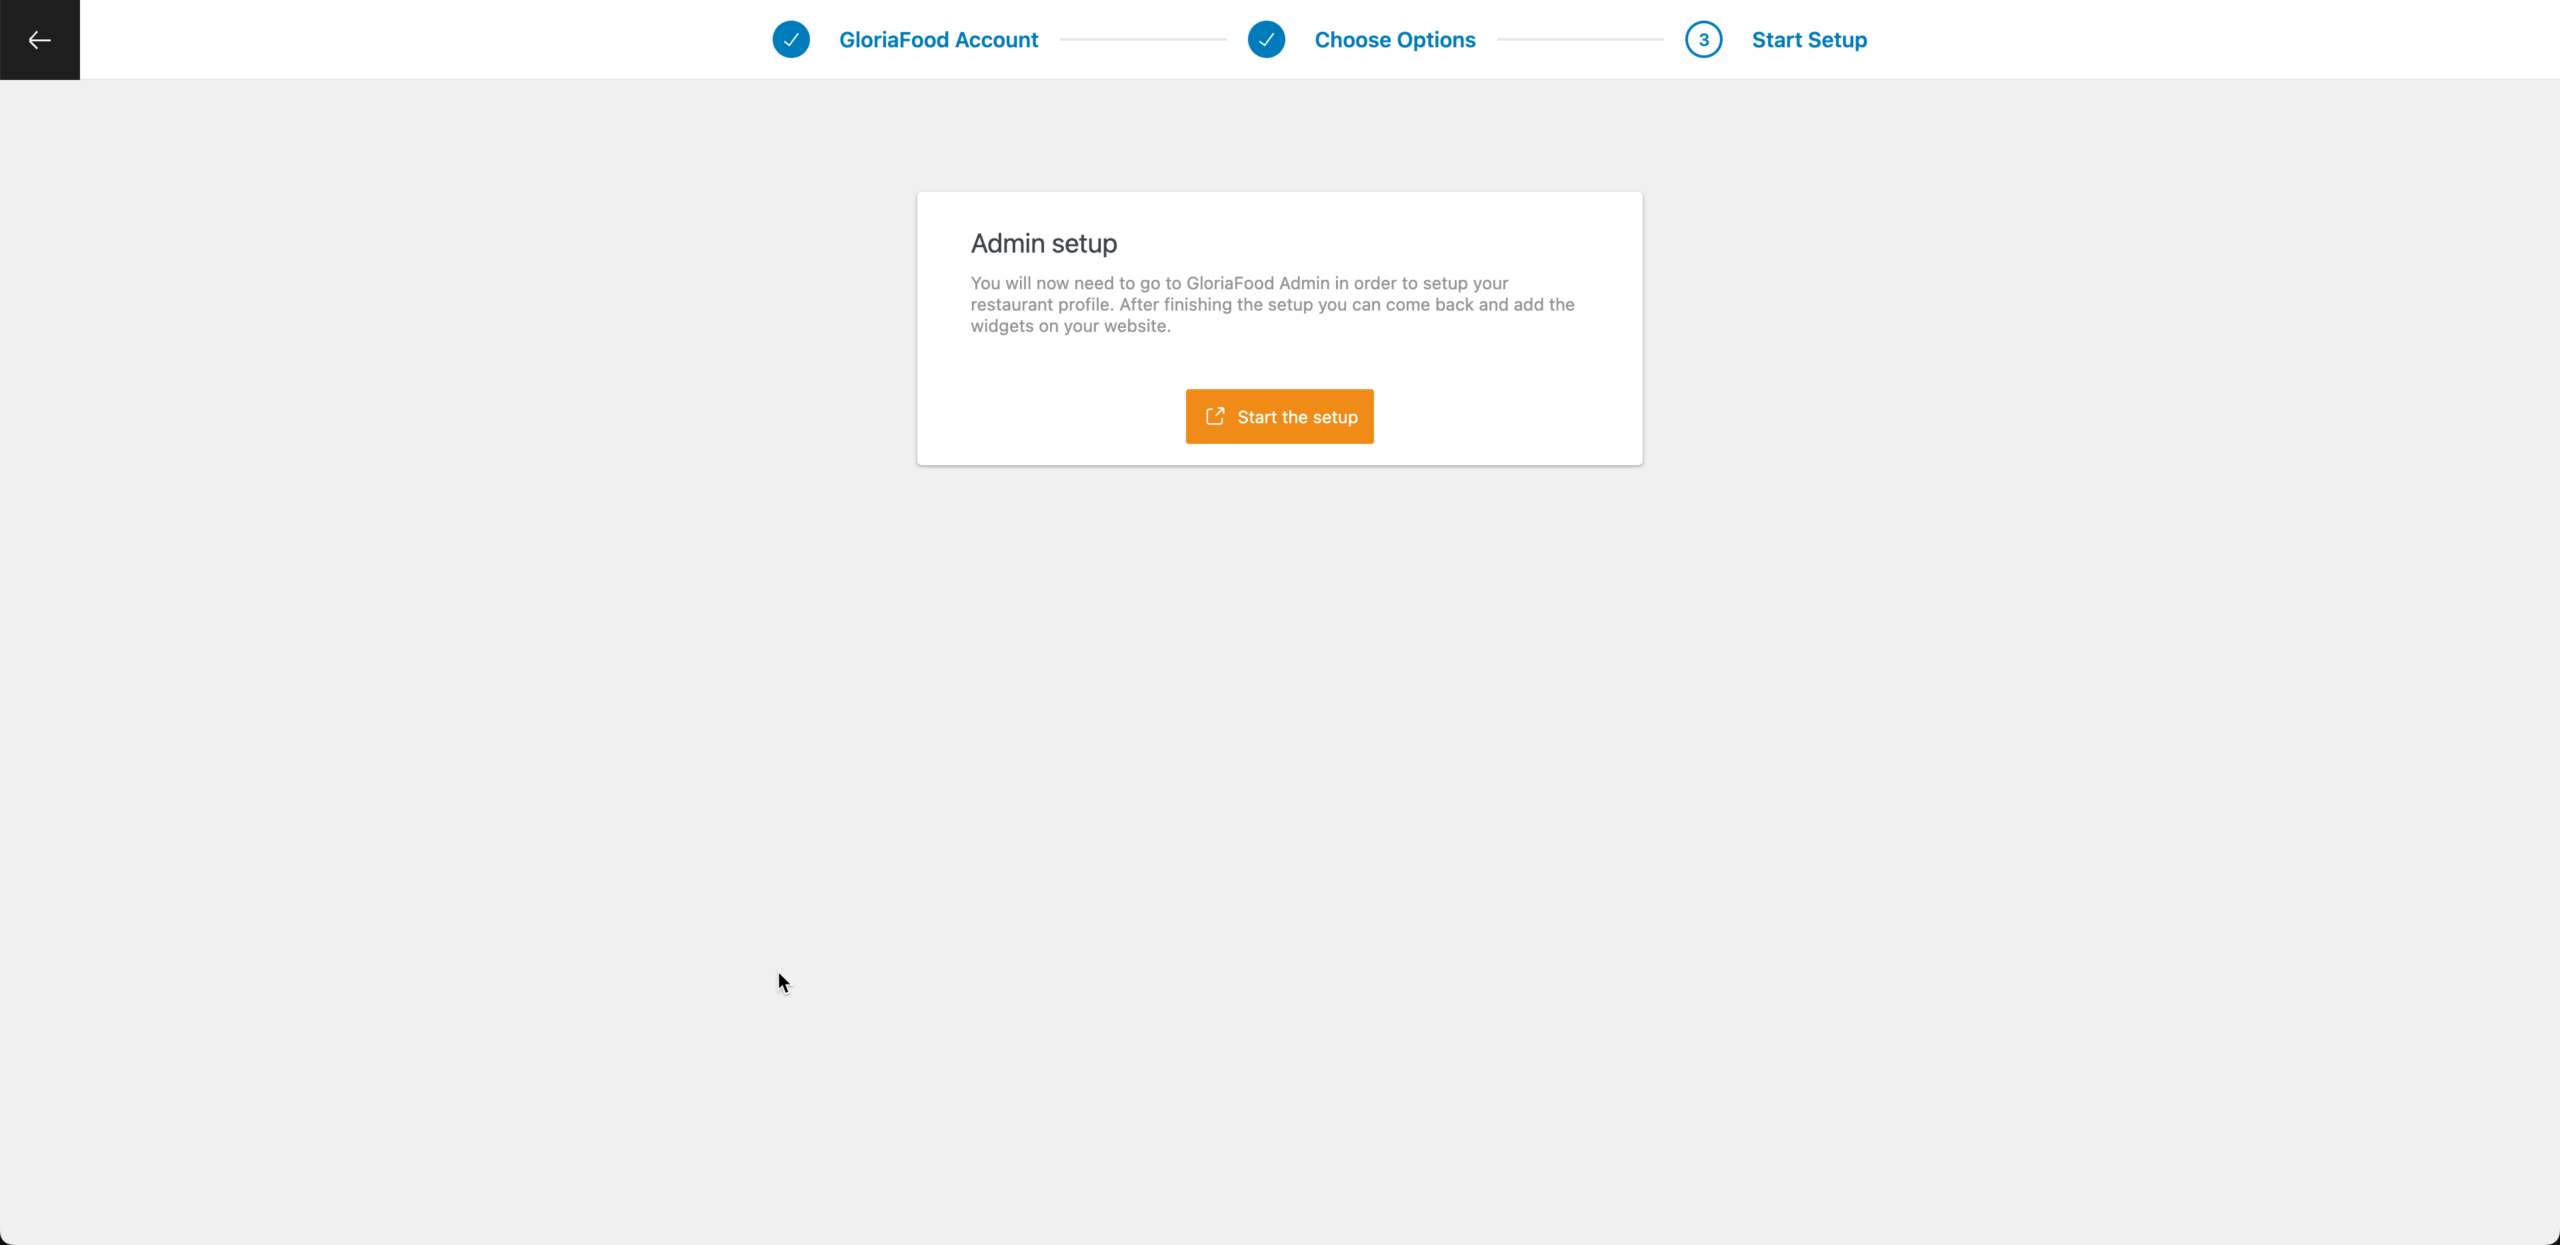
- Navigate to GloriaFood’s restaurant admin page to continue the setup, then come back to WordPress to continue building your website.
Watch the video below to find out how to configure your GloriaFood account in under 10 minutes.
https://www.youtube.com/watch?v=mLHOzfSHPgA
4. Add the online ordering button to a webpage
- One you’re done configuring your menu in your GloriaFood account, go back to your WordPress dashboard and select “Pages” then open the page you want to edit.

- Click on the “+” icon then select the “Ordering” Option.
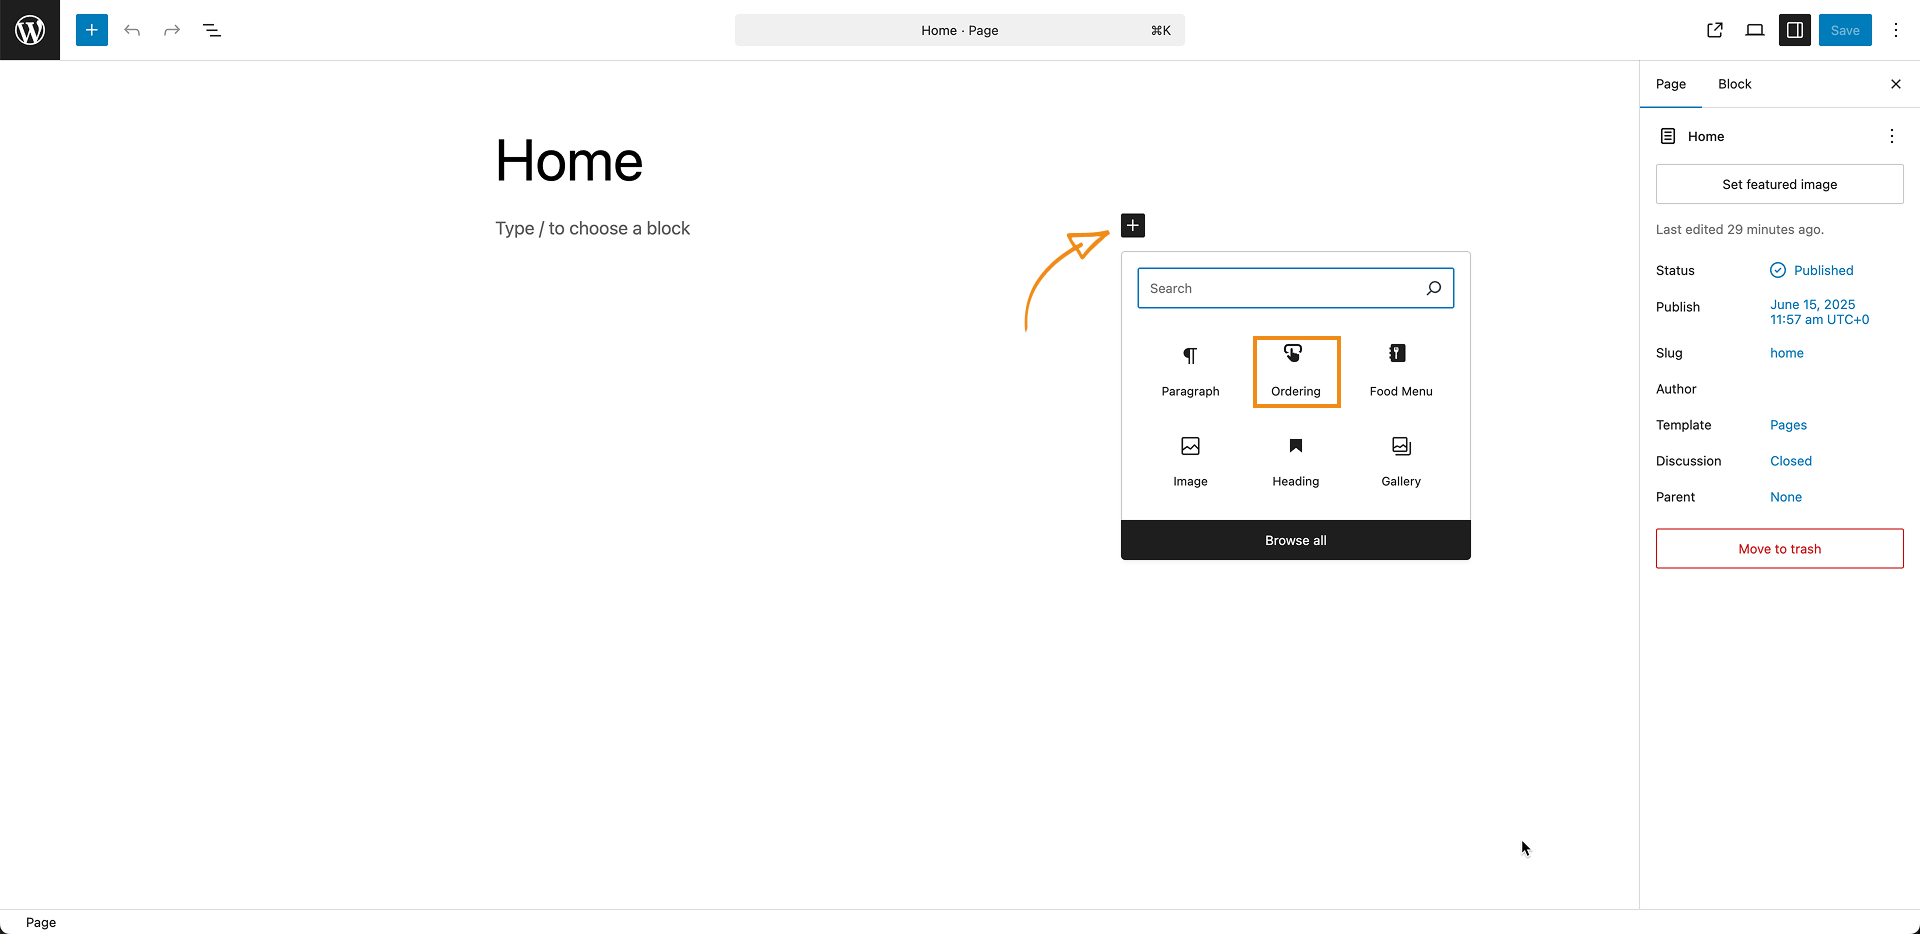
- If all the steps were followed correctly, you should see the online ordering button on the page.
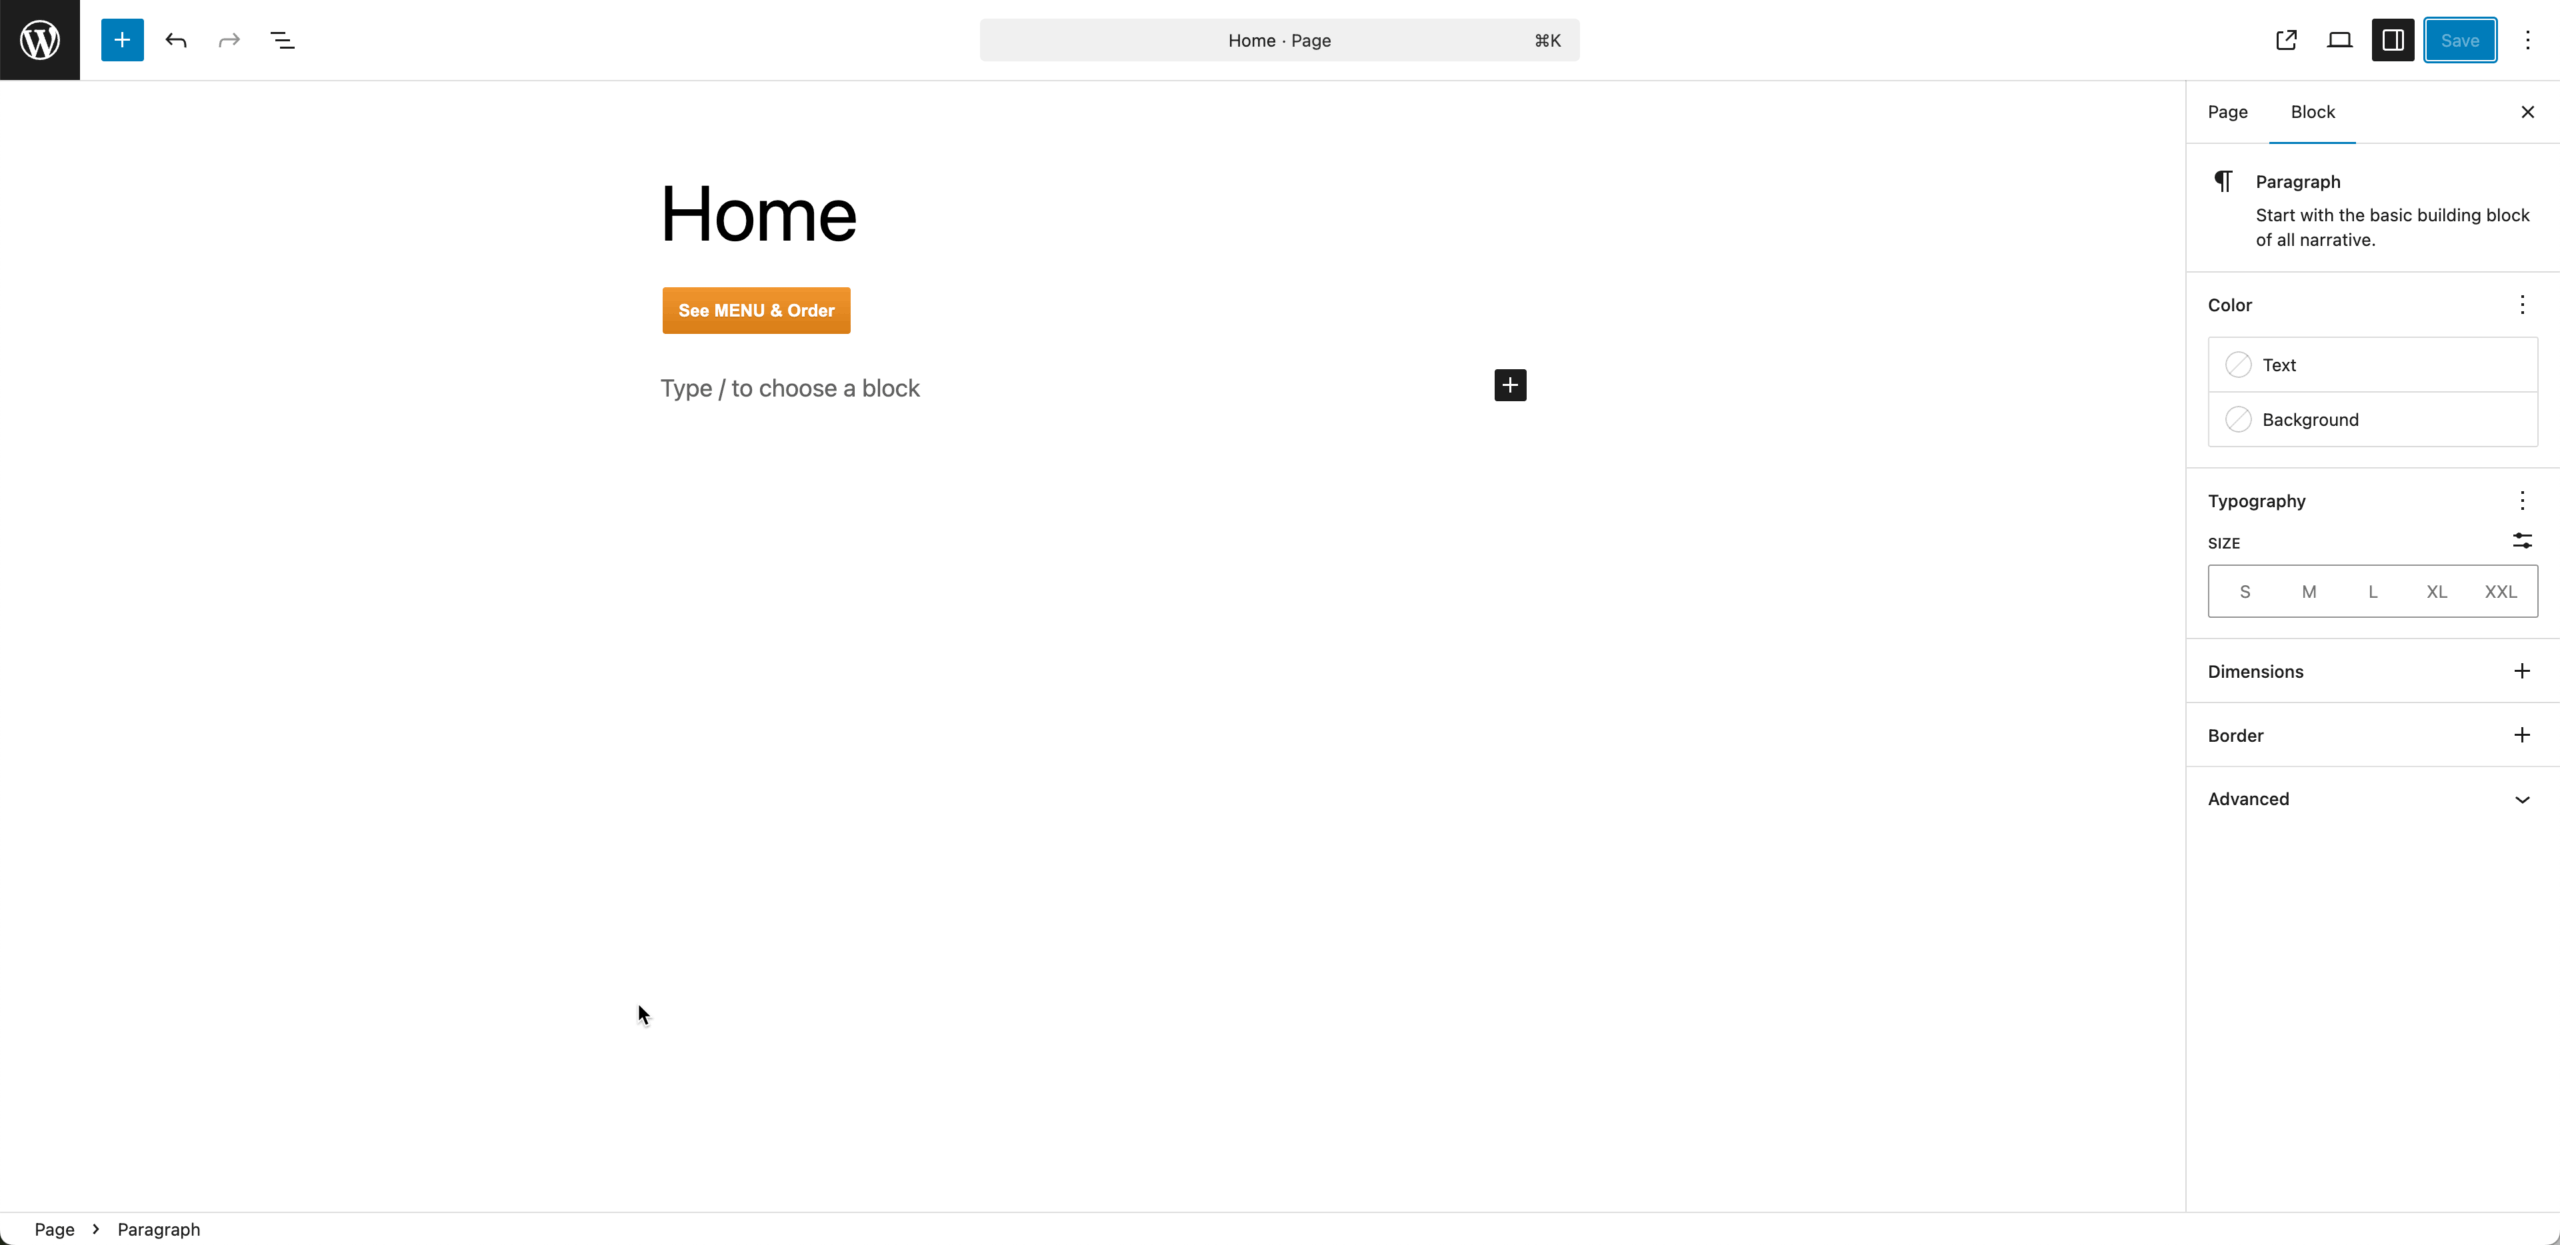
Preview your page and place the button in a highly visible section on the screen, like in the menu bar. Customize buttons, colors, and layout via the GloriaFood settings and match your menu design with your site’s theme for branding consistency.
5. Test your WordPress restaurant website
With your website completed ensure everything is in working order. Place a test order to make sure everything works: ordering, payments, notifications. Be sure open the website on desktop and mobile devices.
Run a Google speed test to make sure the website loads fastly, according to Google, 53% of mobile users abandon a site that takes more than 3 seconds to load, so mobile optimization is critical.
Optional: Connect to Printers or POS system
GloriaFood supports integration with compatible printers and has its own restaurant POS system for auto-printing orders in the kitchen or at the bar.
Final Thoughts
Building a restaurant website with WordPress and the GloriaFood plugin is a low-cost investment in your business. You’ll be ready to: Accept online orders 24/7, update your menu in real-time, provide a seamless customer experience and increase direct sales without third-party commission fees. Now you know how to make a restaurant website with WordPress, will you be making one for your restaurant?

